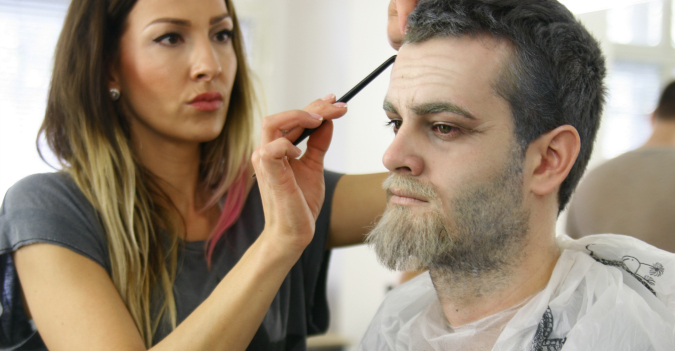
The Make-Up Institute Prague is more than just a makeup studio; it’s an educational institute where both professional makeup artists and non-professionals alike can learn basic makeup skills, as well as Master Pro A-Z class, all accredited by the Ministry of Education. It’s the type of institute where, as owner Marketa recently told me, depending upon the day, students could be learning wedding makeup, special effects makeup, or extreme makeup.
Its tradition has garnered the attention of famous Czech makeup artists like Filip Novak, one of the main makeup artists during Dreft Fashion Week, makeup artist to the movies and Czech celebrities Sasha W. Isar, and finally Claudie Marcekova, a well-known makeup artist for Harper’s Bazaar and numerous celebrity shoots.

The studio, which is located in Prague 2 is open Monday through Friday 9am-5pm where you can talk to the makeup artists on hand or pick up some supplies from the people that know makeup! Make-Up Institute Prague carries a full line of the latest palettes from MUD Designory, Inglot, Eva Garden, YOUR, and DaVinci and since the studio uses a wide range of makeup, and not just one brand, their opinion on what is going to be best for your skin and face is more in line with giving you the best look, not selling you a product.
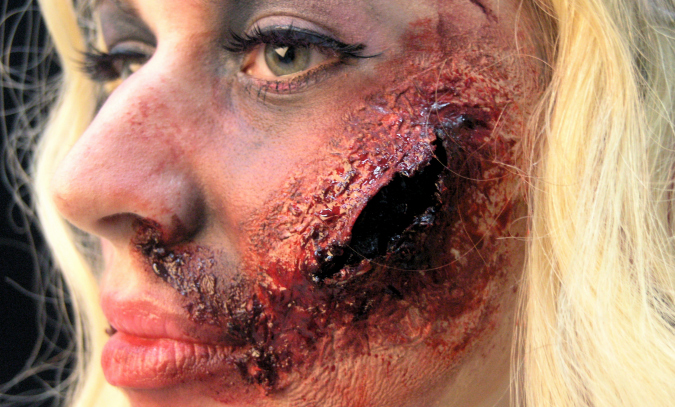
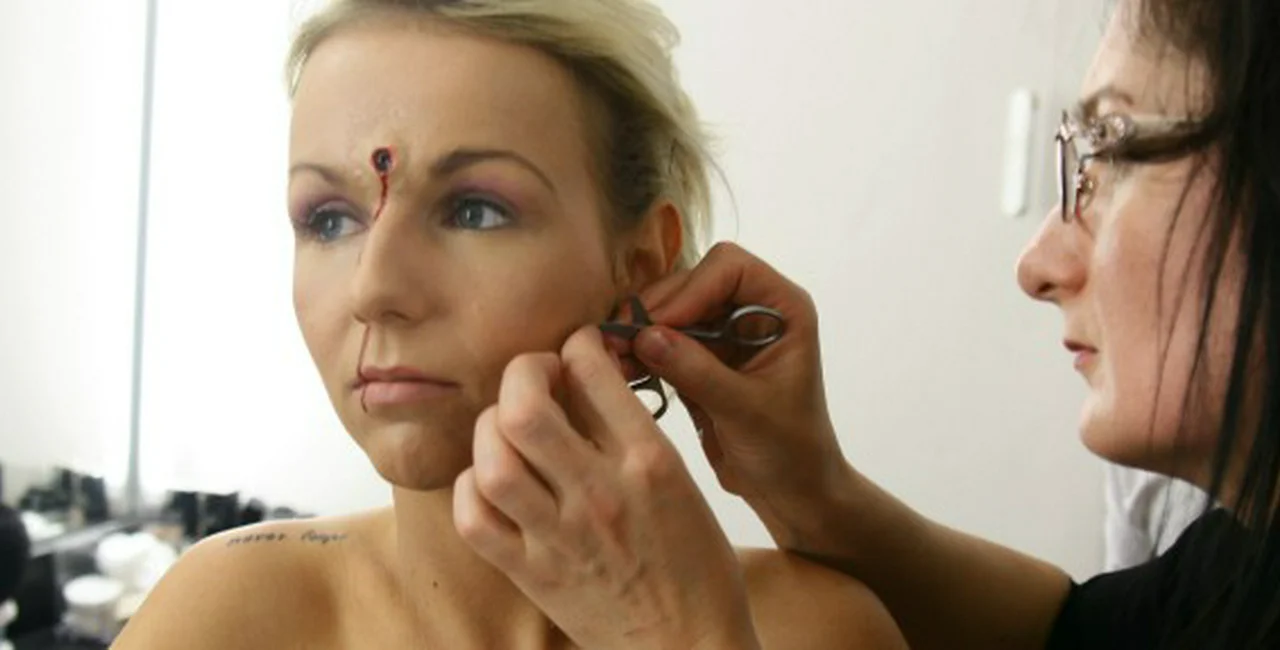
It’s this dedication and professionalism that enticed me to saunter in one cold, Thursday morning for a Halloween makeup tutorial. With a caboddle of brushes, eye shadows, foundations, glitter, foil, latex, and lipsticks, Dasha Kopecka, our makeup artists for the day, set out to create zombie look perfect for Halloween in Prague!

Zombie yourself this Halloween
Zombie Make-Up How-To
What you need:
Special Effects palette
Liquid latex
Tissues (minimum double ply)
Thick blood
Liquid Blood
(Note liquid blood, liquid latex, thick blood can all be bought at Profiliceni.)
Take tissue paper (like the ones you use for blowing your nose) and separate the layers. You will need between 5-6 layers as you will be cutting them later.
Take liquid latex and add a layer to your skin (you can add it anywhere you wish as this is where you become creative) Work quickly as the latex dries fast. Once you’ve add a latex layer add one of your tissue layers.
Using a sponge dab the sponge in the latex and add to your tissue layer, then repeat the process (latex, tissue layer, latex, tissue layer) over and over again until you have the layers that you want.
While you’re waiting for your latex tissue layers to dry, it’s time for dark circles. Using black eye shadow sweep around the lower part of the eye; it’s ok if it’s messy- you’re a Zombie.
Next you’ll need cream colors (best to use a special effects makeup palette). Add black, brown, green , and maybe a bit of red around the eyes and lips and blend.
On top of your latex, tissue scar, add foundation to the outer area so that it looks a bit more like your natural skin. Do not place foundation where you will make your hole for your gruesome wound.
To make the hole for your open wound, use a pair of tweezers being careful not to stab your own face in the process. You can go through as many layers of tissue as your wish, the more layers you cut, the deeper the hole.
Once you have your wound hole as you would like, begin by adding the red color from your special effects palette. The deeper you would like the hole to appear the darker the color needs to be. Make sure you add some of the red around the hole (it should look real).
At this point it’s time to add blood. To give the impression of flesh, add something called ‘thick blood’ to the hole that you have made and colored in using either a brush or Q-tip- though we suggest using a Q-tip. If you would like to use the thick blood anywhere else go ahead and do that now.
Finally, add ‘liquid blood’ and you’re done!
Feel free to add more black eye shadow or special effects makeup.
**
Share your Halloween make-up secrets.


 Reading time: 3 minutes


